So, you’ve got your renovation hat on and you’re ready to rock’n’roll. The time has come to make those changes you’ve always wanted. What fun! Such excitement! But hold up a minute… Have you thought this through? Have you done your research?
If the answer is no, then you’re in luck because we’ve got quite the treat for you:
Building Masters Inspections thought that it might be a good idea to put together this comprehensive checklist that will help prepare you for the task at hand, and make sure that you stay on track every step of the way.
If you have already done your research, then you must be here because you want to double, triple, and quadruple check that you know exactly what to expect. This is a wise choice and I can assure you that you’ve come to the right place.
So without further ado, let the checklist begin!
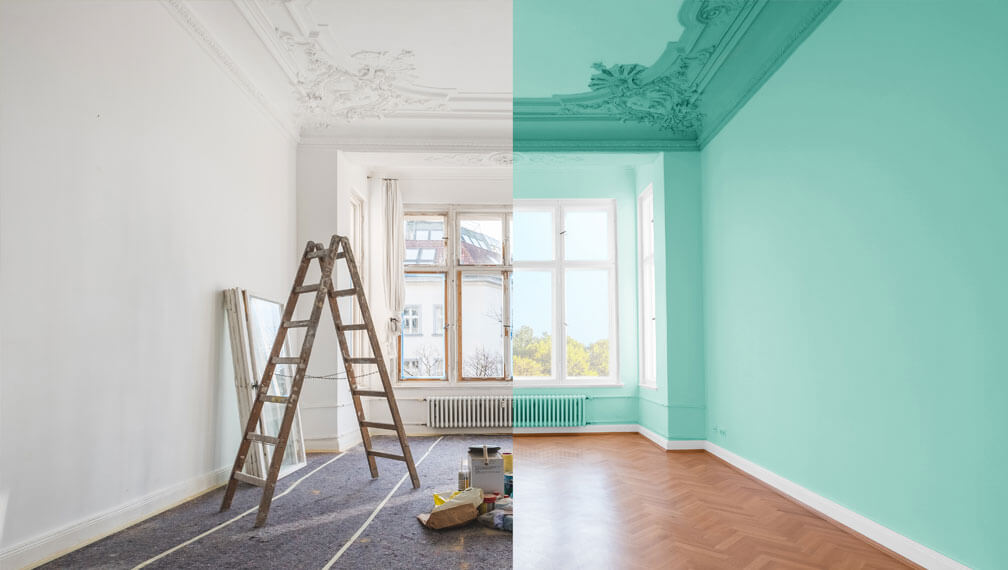
Step 1: Planning the Renovation
First thing’s first – Round up all of you design plans to help refresh your original ideas and get a handle on precisely what you’re hoping to get out of this renovation.
For example, why do you want to renovate?
- Is it to boost the property value?
- Gain more living space?
- Freshen up your home’s atmosphere?
- Get it ready to put on the market?
- Fix the Feng Shui in your bathroom?
If you’re struggling for ideas, why not do some investigating? Take notes from home renovation websites or visit some open inspections. You’ll be surprised how easy it is to come by inspiration when you’re feeling stuck. Pinterest anyone?
Once you’ve got your ideas in mind then organise them into a folder or a notebook so you don’t forget the important details.
Step 2: Council Permission
Secondly, you’ll want to make sure that you contact your local council in order to ensure that the renovations you’ve planned to undertake are permitted in your area.
If you can acquire a copy of the council’s development guidelines, you should then know exactly what renovations they will or will not allow you to engage in. This way, you can know for sure whether or not the rooftop spa or 5-story add on is actually a no-go and going to cause you big trouble.
Step 3: Budgeting for the Build
Now is the time to check your finances. Make sure you have a rough idea of how much you’re willing to spend and where the money will come from – will this be coming out of your savings or can you get a top-up loan on your mortgage?
It’s also a good idea to prioritise each element of your renovation – colour schemes, materials, size, etc. This will give you a clear picture of what you 100% need to include, and that which you can happily (or begrudgingly) live without.
Step 4: Building Materials
After the idea prep and the financial assessment, you’ll want to start inquiring about the cost of your preferred materials. Get quotes so you can get a better idea about how much your ideal materials will end up costing you and that way you won’t get any nasty surprises when the invoice arrives. This will also help you decide whether you need to re-evaluate your options and maybe forgo the polished marble floor this time round.
You’ll also want to get a rough estimate of the cost of work per square metre so you then have a better idea of whether or not this price fits into your ballpark figure. Again, re-evaluations may need to be made.
Step 5: Even More Planning
Think ahead: One thing you might want to consider is where you will be when the renovations take place. Will you be living elsewhere for the duration, or will you just find a way to rearrange your living space and work around it? Once you’ve figured that out, just double check that you hadn’t planned your mother-in-law’s birthday celebrations or a romantic anniversary dinner during that period. No? Then you’re good to go.
Step 6: Ask around
Your friends, family and workmates might just be the perfect resource when it comes to looking for guidance and advice for your upcoming project. Check out any renovations they might have had done and carefully inspect the quality of that work. If you like what you see, ask if they have the number of the worker/s involved in constructing it, or if they have any other recommendations, draftspeople, architects or builders in mind that will make your renovation army complete.

Step 7: The Architect
Now it’s time to bring in the experts. Because you’re an absolute visionary, you’ll want to find an architect whose design style compliments yours as closely as possible. After all, how else will your fantasy renovation come to life? Once you’ve found your perfect match, make sure you can afford them. You really can’t get enough quotes.
Step 8: Do you need an Engineer?
Once the wheels are in motion and you’re happy with the final plans that have been drawn up for your project, you may need to have a qualified engineer tally up the costs associated with the structural specifications that the renovation will entail.
A structural engineer will assess the safety and viability of the planned renovation and will be needed to provide you with planning permission and give you the green light to go ahead with construction.
Depending on the nature and scale of your project, this may not be essential but as a general guideline, if you have any plans to amend the fundamental structure of your home, finding yourself a structural engineer will be non-negotiable.
Step 9: The Interior Design
Now comes the fun bit: Deciding on all of the bells and whistles – or Prime Costs to be specific. This is when you can let loose that inner interior designer that dwells deep inside, just waiting for their time to shine. Double shower heads, chrome plated taps, a Persian ceramic sink, a golden toilet, and a cast iron clawfoot bathtub? We’re not here to judge, but there’s a chance you might want to have a careful think about whether you really need that marble kitchen top or you’d prefer to avoid bankruptcy instead.
Step 10: Putting the Team Together
Ok what now? By this stage you should (hopefully) have received a green light for the planning permission obtained by your Architect and now it’s time to find yourself a team to build this bad boy. Finding the right builders is probably going to take some research on your part as many builders have a very different pricing system, and costs are likely to vary quite drastically from one to the other.
Put your sleuthing hat on for this and determine why they charge what they do, what exactly does the quote include, and what is and is not covered. Once you’ve done your homework, your architect should then advise you as to which builder seems best suited to your specific project based on their quotes. Take their advice but don’t forget to consider their reputation, expertise, and even how well you get along.
Step 11: Getting it all Approved
With that done, you will now need to apply for a construction certificate with your local council who will point you in the direction of the type of Building Surveyor you are going to need. This will be the person who assesses and then approves (hopefully) all the required stages of building that is planned to be undertaken. Basically, it’s the job of a building surveyor is to approve the structure and then manage the compliance of the development.
Step 12: Keeping the Lines of Communication Open
By now everything should be starting to fall into place and with any luck your renovations should be running along smoothly. Be sure to keep in touch with the builder to see how things are chugging along at least once a week to save yourself stumbling upon any costly surprises you wish you hadn’t.
You are now armed and ready to take on that dream renovation of yours. I would wish you luck, but after reading through our comprehensive checklist, you shouldn’t need it!


Leave A Comment